
Project and balance
~5 min · Project limits, access for colleagues and topping up the balance from Ringostat.
- What you get:
- an understanding of the project limits, access for colleagues and a topped-up Voice Agent balance.
- Before you start:
- project admin rights in Voice Agent: only an admin invites colleagues, connects integrations and tops up the balance. To pay from Ringostat, a Ringostat project with an API key.
Project details
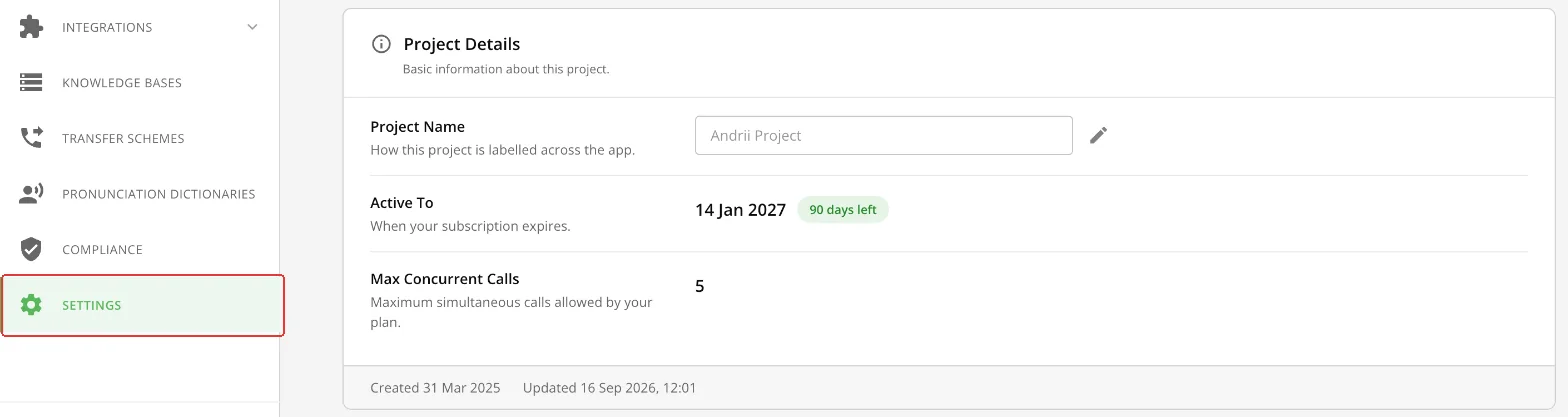
Left menu → “Settings”, the “Project Details” block.
| Field | What it means |
|---|---|
| “Project Name” | How the project is named in the app. Change it with the pencil icon. |
| “Active To” | The subscription end date and how many days are left. |
| “Max Concurrent Calls” | The plan's limit for the whole project: campaigns share these lines. If campaigns need more, the extra calls wait for a free line. |
Project users
- 1In “Settings”, the “Project Users” block, click “Invite User”.
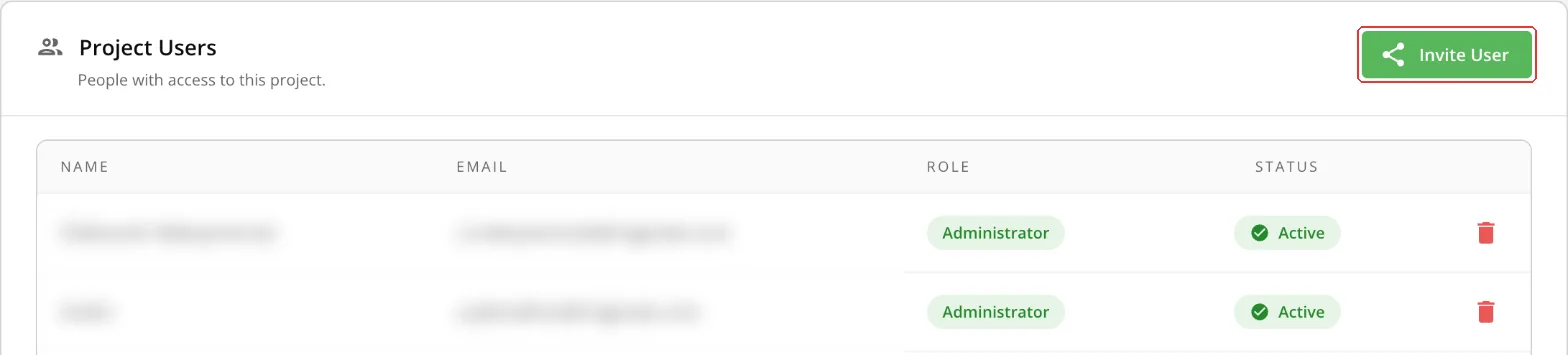
“Invite User” button - 2Enter your colleague's email, choose a role (“Administrator” or “User”) and click “Share”.
- 3Your colleague gets an invitation by email. Until they accept it, the status is “Invitation sent”; the invitation is valid for 30 days.
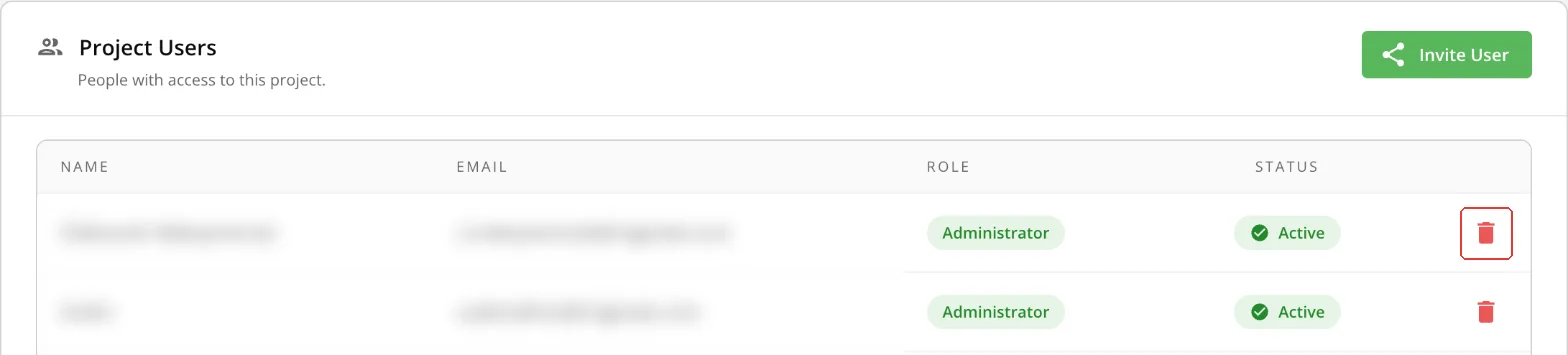
If your colleague already has a confirmed Voice Agent account, they are added at once, with no email. To revoke access, click the trash icon next to the user.
Topping up the balance from Ringostat
The Voice Agent balance is topped up from your project balance in Ringostat: through the integration or manually, with help from the Ringostat team.
Step 1. Connect the Ringostat integration (once per project)
- 1Choose the project in the list at the top of the page.
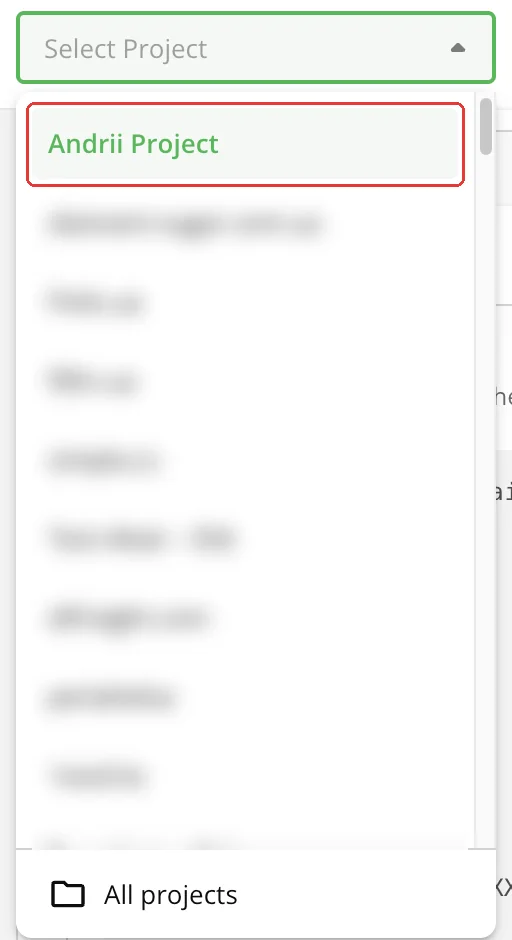
Choosing a project - 2Left menu → “Integrations” → “Ready-made”.
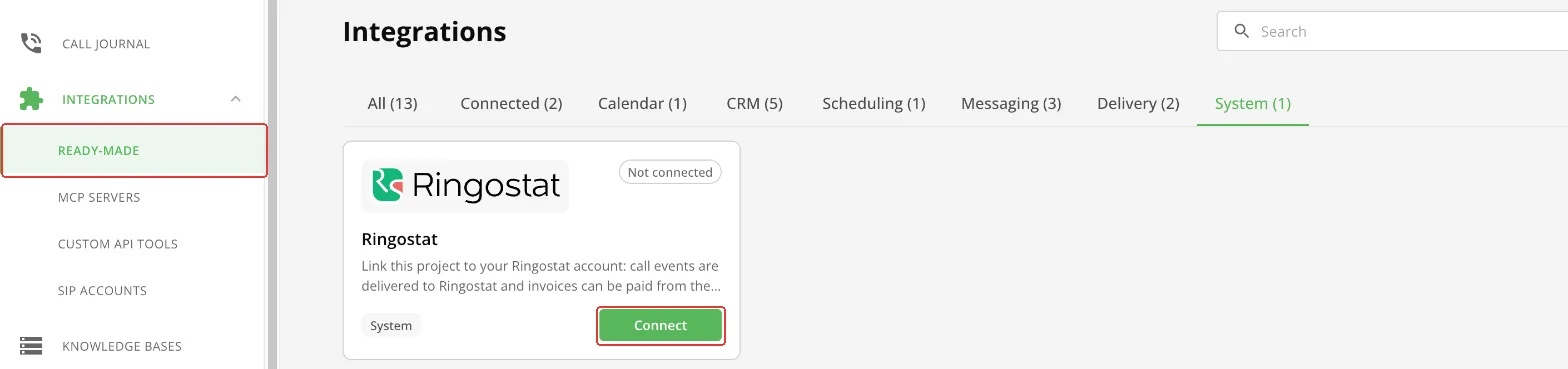
Ringostat card - 3Open the Ringostat card and click “Connect”.
- 4Fill in the fields and click “Save”.
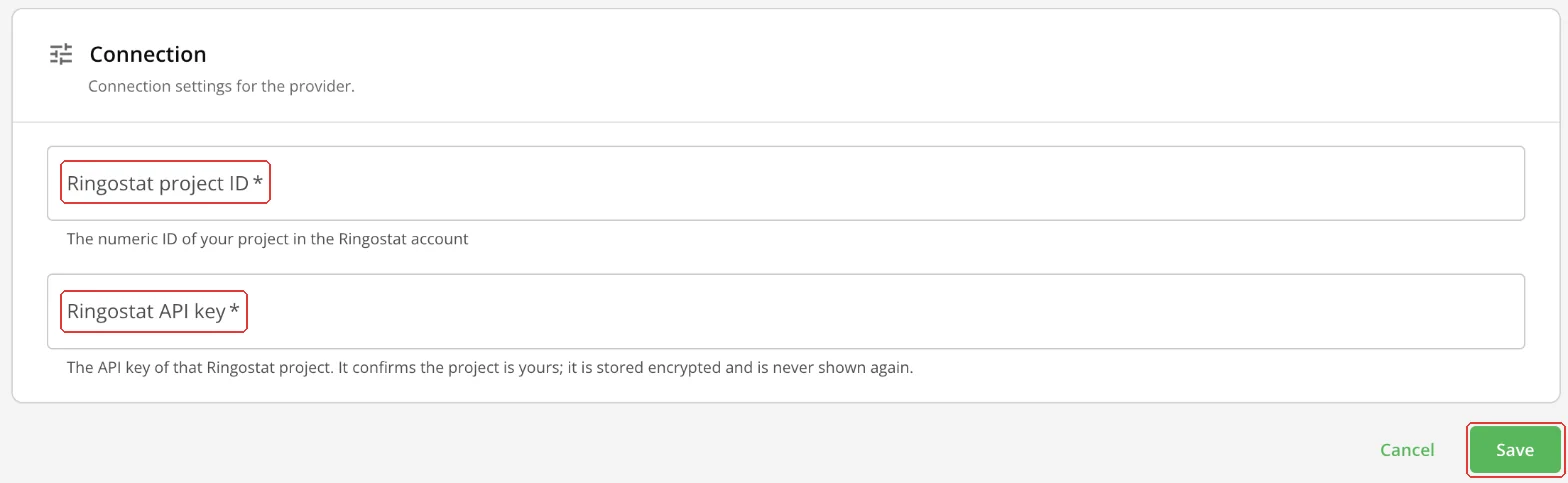
Ringostat connection fields
| Field | Status | Description |
|---|---|---|
| “Ringostat project ID” | required | The numeric project ID in your Ringostat account. |
| “Ringostat API key” | required | The key generated in the Ringostat dashboard for this project. |
The API key is stored encrypted and is not shown after saving. If you lose the key, generate a new one in Ringostat and enter it in the integration settings.
Step 2. Create an invoice
- 1Click “Balance” in the top right corner, then “Top up”.
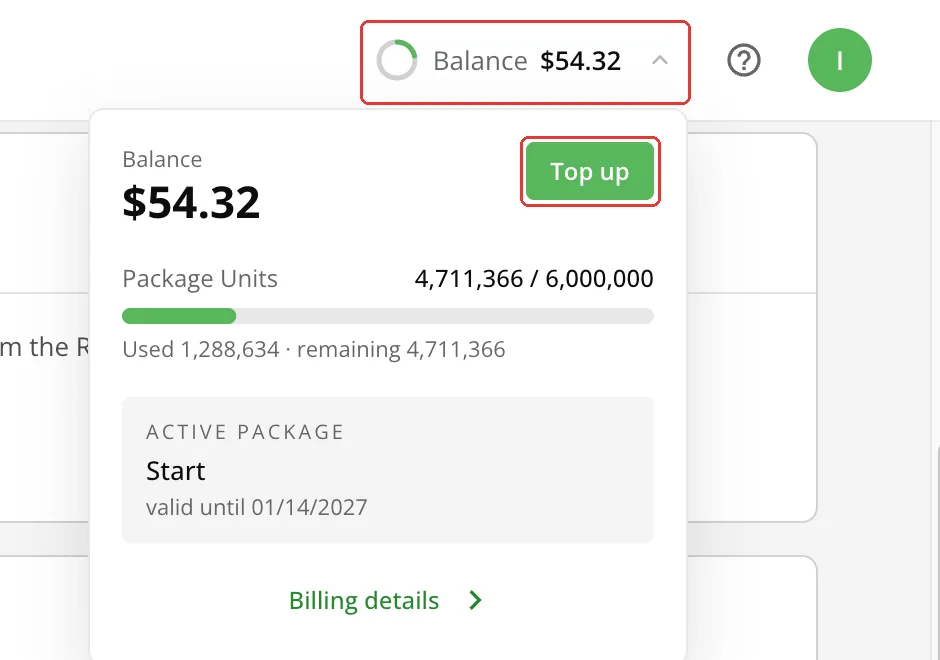
Balance menu - 2Click “Add Funds” and enter the amount in dollars.

“Add Funds” button 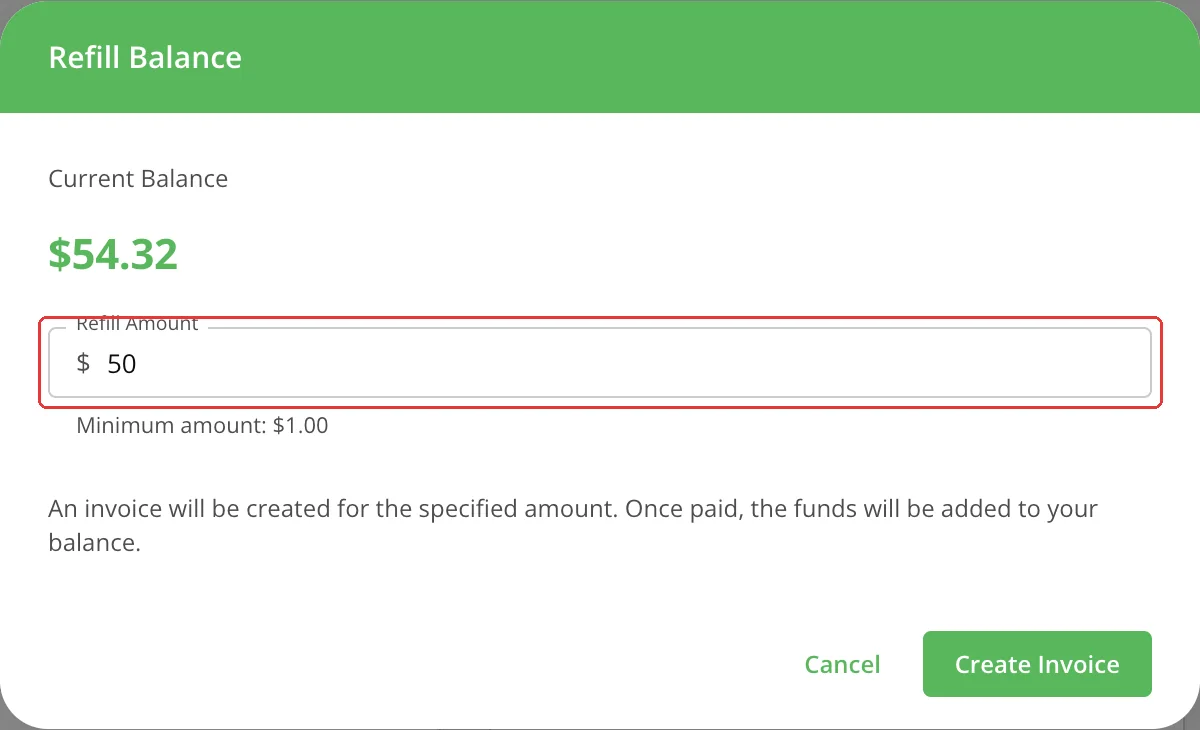
Top-up amount - 3Click “Create Invoice”.
The invoice appears in the “Payment history” tab with the “Pending” status. The “Due Date” is 7 days from the issue date.

Step 3. Pay the invoice
In the “Payment history” tab click “Pay from Ringostat balance” next to the invoice.
- Enough funds: the amount is charged to the Ringostat balance and credited to the Voice Agent balance. The invoice status becomes “Paid”.
- Not enough funds: the invoice row shows the reason and a “Retry” button. Top up the Ringostat balance and click “Retry”.
If there is no Ringostat integration
Create an invoice (step 2) and tell your Ringostat manager. Once the Ringostat team processes the payment, the invoice becomes “Paid” and the funds appear on the Voice Agent balance.
What next
- Connecting telephony (SIP) — so the agent can make calls.
- API and webhooks — the project ID and API keys for integrations.